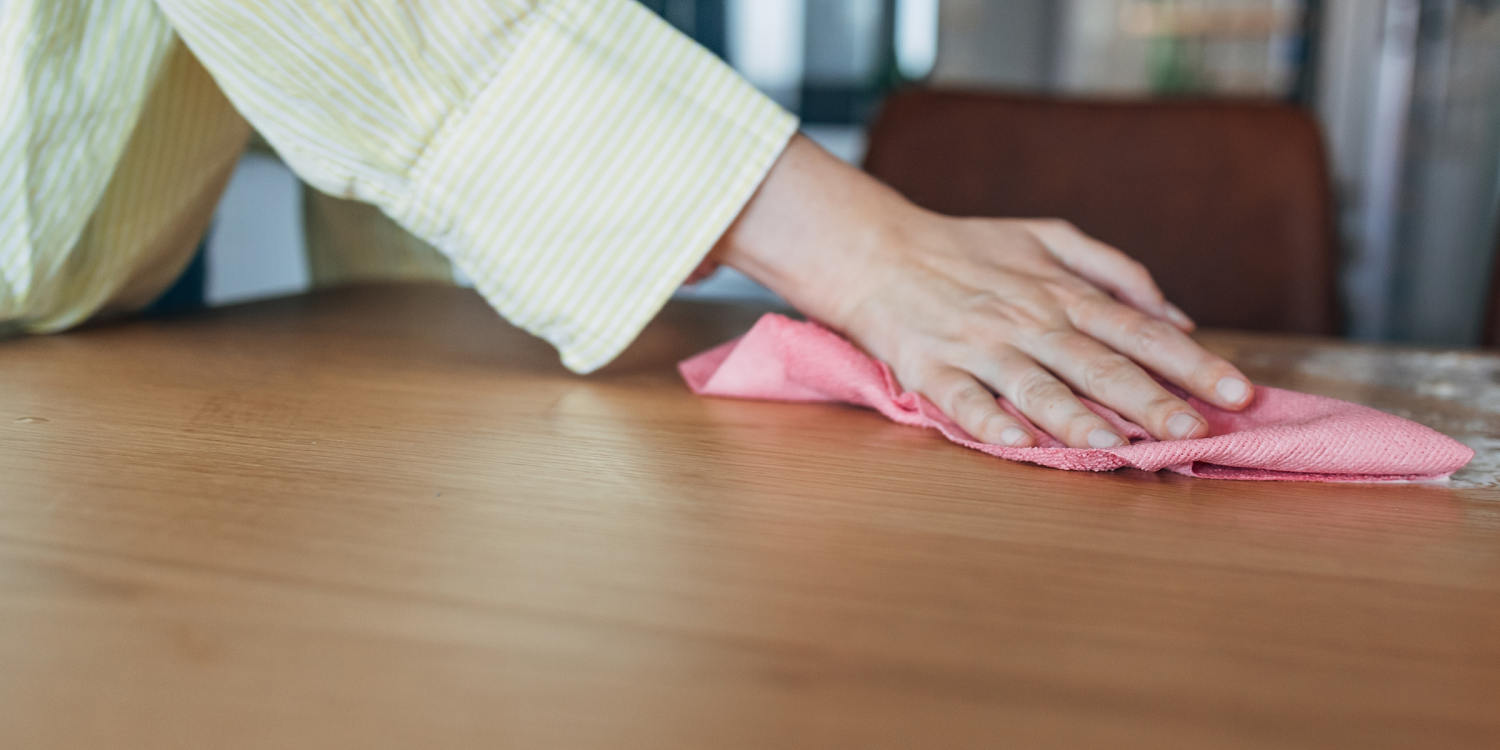
Most aerosol furniture sprays don't actually polish wood. They smear silicone over a layer of dust and leave a hazy film that attracts even more dirt next week.
If you want to polish wood furniture so it looks genuinely refreshed—closer to the day it left the workshop than a greasy showroom—you have to stop treating every board like the same surface. A solid oak dining table sealed in catalyzed polyurethane behaves nothing like an antique walnut chest finished with shellac or a modern piece wearing a matte oil coat. Grabbing the first glossy can under the sink is how good pieces end up cloudy, gummy, or permanently stained.
I've spent years working on secondhand dressers, inherited sideboards, and everyday tables that looked tired or scratched. Usually, the wood underneath isn't ruined at all. It's just buried under grime, dried-out polish buildup, or micro-scratches catching the light at the wrong angle.
Why Your Finish Matters Before You Polish Wood Furniture
Here's a detail people skip all the time: when you polish wood furniture, you aren't touching raw timber. You're working on the topcoat—the clear or tinted barrier sitting over the wood.
Think about that for a second. If a table has a modern film finish like polyurethane or lacquer, that coating is non-porous and hard. Oil doesn't soak into it to "feed" the wood. When you rub liquid oil onto cured polyurethane, the oil just sits on top, collects lint, and eventually turns sticky or dull.
By contrast, an oil-finished or wax-finished piece (common on Scandinavian-style furniture, butcher blocks, or older hand-rubbed pieces) lets conditioning oils and paste waxes interact with the surface. Shellac and lacquer, meanwhile, have their own quirks—alcohol or harsh solvents can melt shellac right off the board, which is great if you're stripping it, and a nightmare if you're just trying to wipe down a coffee ring.
Before you apply a single drop of anything, figure out what you have. Look closely at where the finish is chipping or wearing thin at a corner. A thick, plastic-like edge that peels or flakes usually points to polyurethane or lacquer. A soft, worn edge that blends gradually into bare wood often signals an oil or wax finish. You can also test a tiny, out-of-sight spot—like the back leg or underside of an apron—with a damp cloth or a drop of mineral spirits to see if the surface softens, clouds, or stays completely unfazed.
Organizations like the U.S. Forest Service Forest Products Laboratory have documented for decades how wood moves with changes in indoor relative humidity. Even finished furniture expands and contracts slightly across seasons, which can create fine stress lines or dull patches. Knowing your finish keeps you from slapping the wrong product over a surface that needs gentle cleaning instead of heavy conditioning.
Step One Is Cleaning, Not Polishing
Honestly, skipping the wash step ruins more wood projects than bad technique does. Rubbing wax or polish over kitchen grease, skin oils, and settled dust just traps grit against the finish. Then every circular pass acts like ultra-fine sandpaper.
Start dry. Use a clean microfiber cloth or a soft brush attachment on a vacuum to lift loose dust, following the direction of the wood grain. Going across the grain is a classic rookie mistake, especially on open-grained woods like oak or ash where pores run lengthwise and hold onto debris.
For everyday buildup, dampen a soft cotton or microfiber cloth with warm water and a tiny drop of mild dish soap. Wring it out until it's barely damp—never soaking wet. Standing water seeps into seams, swells veneer, and leaves white haze marks. Wipe along the grain, then immediately follow with a second cloth dampened only with plain water, and dry thoroughly with a clean towel.
Dealing With Sticky Silicone and Wax Buildup
If a piece feels tacky, looks cloudy in spots, or beads water weirdly from years of aerosol sprays, you've got buildup. I've seen dressers that looked "ruined" come back to life just by clearing off old residue.
Mineral spirits (also called white spirit) work well on cured polyurethane or enamel finishes to cut grease and old wax without stripping the main protective coat—provided you work in a well-ventilated space and wear nitrile gloves. Keep the cloth lightly dampened, wipe in the direction of the grain, and change to a clean section of cloth often so you aren't just spreading sludge around. Always test a hidden spot first, especially on vintage pieces or delicate veneers, because solvents can affect older or unstable coatings.
How to Polish Wood Furniture for Real Shine
Once the surface is clean and dry, you can actually polish it. Notice I said shine or sheen, not necessarily mirror gloss. Plenty of modern furniture looks best with a satin or matte glow, not a shiny glare that highlights every dent.
For most sealed modern wood furniture, a high-quality paste wax or a dedicated non-silicone furniture wax gives a clean, natural sheen that buffs out without turning gummy. Apply a thin layer with a lint-free cloth in small sections, working with the grain. Let it haze for a few minutes—don't let it bake into concrete—then buff it briskly with a clean microfiber cloth until it feels smooth rather than draggy.
If you're working with an oil-rubbed or wax-conditioned piece that feels dry and thirsty, a conditioning oil or oil-wax blend can restore depth and warmth. Wipe a light coat along the grain, let it sit for 10 to 15 minutes so the surface can absorb what it can take, and wipe off every bit of excess with a clean cloth. Leaving excess oil sitting on top is how furniture ends up attracting dust and feeling greasy weeks later.
Minor Scratches vs. Deep Gouges
Light surface scuffs in the clear coat often disappear once you clean and wax the area, because the wax fills tiny micro-grooves and evens out how light reflects off the surface. That's why a piece can look dramatically fresher in twenty minutes without any heavy restoration work.
Deeper scratches that cut through the finish into bare wood—or gouges that dent the fibers—need a different approach. Don't expect polish alone to erase a trench. Color-matched wax filler sticks, touch-up markers, or a tiny dab of matching stain applied carefully with a fine artist's brush can blend a scratch so your eye stops catching it from across the room. On dented bare wood, steaming a minor compression dent with a damp cloth and a warm iron is a trick woodworkers use on unfinished or unsealed spots, though it can ruin lacquer or shellac finishes fast. If a piece has high antique value or delicate veneer, stop before sanding—sanding through thin veneer is heartbreaking and irreversible.
Mistakes That Make Wood Look Worse Over Time
A lot of well-meaning advice sounds smart until you live with the results. Here are the traps I see people fall into repeatedly:
- Spraying polish directly onto the wood. Overspray lands on floors, upholstery, and nearby surfaces, and heavy pools take forever to buff out. Spray or apply onto your cloth instead.
- Using olive oil or cooking oil. It's tempting when you're out of supplies, and it looks shiny for five minutes. Cooking oils can go rancid over time, turn sticky, and leave an unpleasant odor.
- Over-polishing. More isn't better. Layer after layer of wax or polish without cleaning off old buildup creates a soft, cloudy skin that smears easily and dulls the grain.
- Ignoring sunlight and heat. A cabinet parked right next to a radiator or baking in direct afternoon sun will dry out finishes faster and fade pigments no matter how carefully you polish it.
The National Park Service Conserve O Gram series offers practical, no-nonsense guidance on caring for historic and wood objects, and one big takeaway applies at home too: gentle, minimal intervention beats aggressive products every single time.
A Quick Routine You Can Actually Stick With
You don't need a weekend workshop session every Tuesday to keep your rooms looking sharp. Dust regularly with a dry microfiber cloth so grit never settles in. Spot-clean spills right away—especially liquids, perfume, nail polish remover, or hot mugs. Once or twice a year, do a proper wash-and-buff on high-touch pieces like coffee tables, dining chairs, and nightstands, checking first that your cleaner and polish match the finish you're working on.
Pick one piece of furniture you use every day, test a hidden corner to confirm its finish, give it a proper dry-and-damp clean first, and buff on a thin coat of the right wax or conditioner today.